
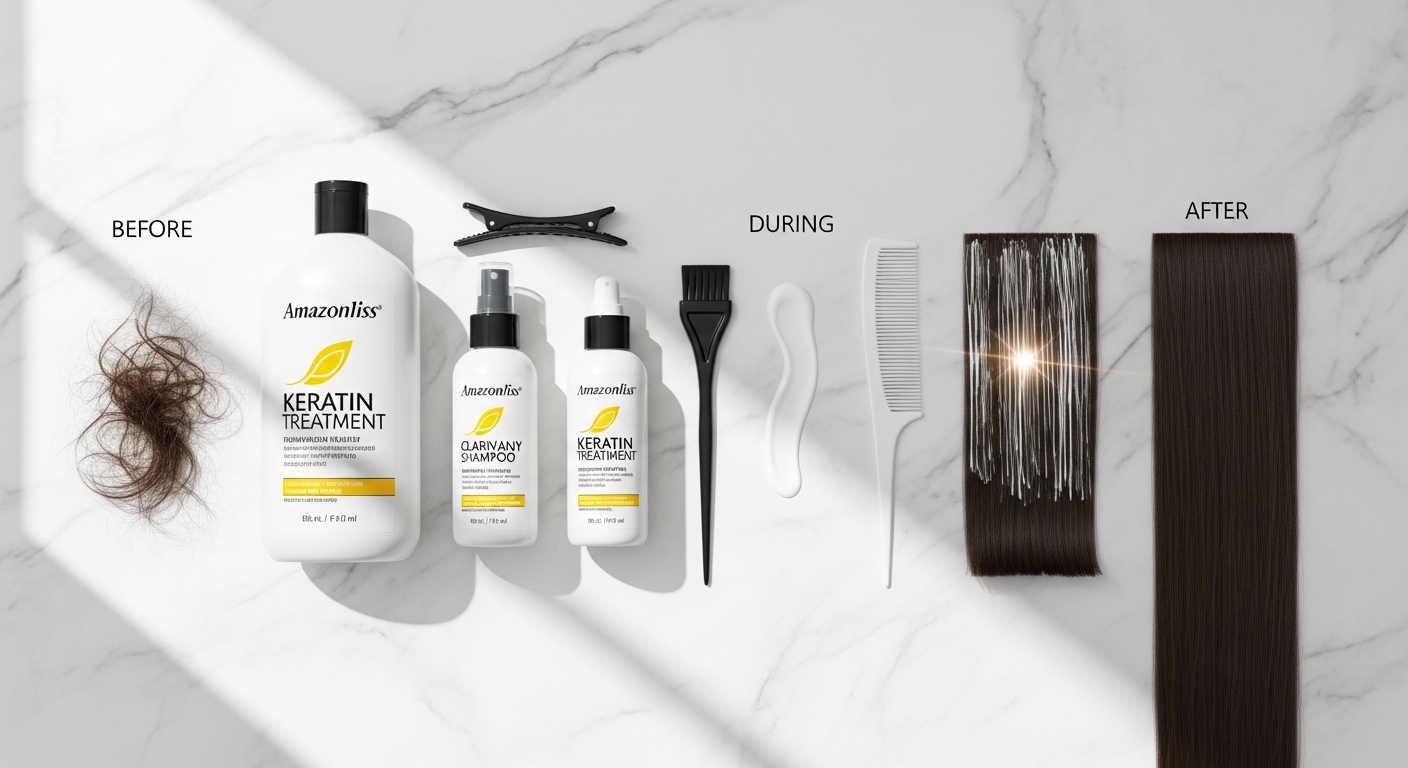
Learn how to apply Amazonliss Brazilian Keratin Smoothing Treatment at home with our complete step-by-step guide. Discover pro tips and maintenance secrets for salon-quality results lasting up to 16 weeks.
If you’re among the millions dealing with frizz, damage, or unmanageable hair, you’ve probably spent countless dollars on products that promised miracles but delivered disappointment. Over 80% of people with frizzy or damaged hair struggle to find an at-home solution that actually works. The Amazonliss Brazilian Keratin Smoothing Treatment Kit has emerged as a genuine game-changer for anyone seeking salon-quality results without paying salon prices.
This formaldehyde-free system combines Amazon-sourced botanicals with hydrolyzed keratin to repair, strengthen, and smooth even the most stubborn strands. What sets it apart is its comprehensive approach—a complete 3-step system designed to work across virtually every hair type, from fine and delicate to thick and curly. The results speak for themselves, with users reporting effects that last up to 16 weeks.
The beauty of this kit lies in its accessibility and effectiveness. You get professional-grade treatment in your bathroom, without the lengthy salon appointments or premium pricing. This guide walks you through the exact application process, shares insider tips for maximizing results, and reveals how to keep your hair flawless for months afterward.
What’s Inside the Amazonliss Brazilian Keratin Smoothing Treatment Kit
Understanding each component of your kit ensures you use it correctly and get maximum value. This isn’t just a single product—it’s a strategic three-step system where each element serves a specific purpose.
Complete 3-Step System Overview
The Amazonliss kit includes everything needed for a complete treatment: an anti-residue shampoo, the core Brazilian smoothing treatment, and an intensive repair mask. This trio works sequentially, with each step building on the previous one to deliver transformative results. Think of it as preparing the canvas, applying the treatment, and sealing in the benefits.
Anti-Residue Shampoo: Purpose and Preparation
The anti-residue shampoo isn’t your typical cleanser. Its job is to strip away product buildup, oils, and impurities that can block the keratin from penetrating your hair shaft. When you use this shampoo, you’re essentially opening the cuticles and creating an optimal surface for the treatment to work. Skip this step or use a regular shampoo, and you risk compromising your results.
Brazilian Smoothing Treatment: The Core Keratin Formula
This is where the magic happens. The Brazilian smoothing treatment contains hydrolyzed keratin—a broken-down protein form that can actually penetrate the hair shaft rather than simply coating it. This treatment bonds with your hair’s protein structure, filling in gaps and damage while smoothing the cuticle layer. The result is visibly smoother, shinier hair that responds better to styling.
Intensive Repair Mask: Conditioning and Sealing
After the treatment sits and processes, the intensive repair mask locks everything in. This final step provides deep conditioning, enhances shine, and reinforces the protective benefits. It’s applied after rinsing out the main treatment and left on for several minutes before a final rinse.
Natural Ingredients Breakdown
The formula draws power from multiple sources. Acai and cocoa from the Amazon provide antioxidant protection. Wheat, soy, corn, and rice proteins rebuild the hair structure from within. Vitamins B5 and B3 support hydration and elasticity. Together, these ingredients address frizz, damage, and loss of shine while adding thermal protection—crucial for anyone who heat-styles their hair.
Pre-Application Preparation: Setting Yourself Up for Success
Preparation determines your outcome more than most people realize. Taking time before you even open the kit makes the difference between good results and exceptional ones.
Why Pre-Treatment Hair Assessment Matters
Before starting, honestly evaluate your hair’s current condition. Is it fine and delicate? Thick and coarse? Color-treated or virgin? Damaged throughout or just at the ends? This assessment guides how long you’ll leave the treatment on and how intensively you’ll apply it. Fine hair needs less processing time; thick, curly hair may need longer for full penetration.
Determining Your Hair Type and Condition Level
Run your fingers through your hair. Does it feel rough and dry? Are there visible split ends? Is it actively breaking? These clues tell you how much care and attention your application needs. Severely damaged hair benefits from pre-treatment deep conditioning the day before to ensure the keratin has optimal conditions for bonding.
Gathering Necessary Tools
You’ll need gloves to protect your hands—the treatment can stain. An applicator brush (or old toothbrush works) ensures precise sectioning. Sectioning clips keep your hair organized so you don’t miss spots. A heat protectant spray becomes essential during the drying and flat-ironing phase that follows application.
Creating the Ideal Application Environment
Ventilation matters. Open windows and run a fan—the treatment has a chemical smell that some find strong. Set aside 2-3 hours uninterrupted. Wear old clothes you don’t mind staining. Have all supplies within arm’s reach before you begin. Temperature should be comfortable; cold environments can affect how the treatment processes.
The Three-Step Application Process Explained
Proper application technique directly impacts your results. Each step has specific timing and coverage requirements.
Step 1: Pre-Treatment with Anti-Residue Shampoo
Start by shampooing your dry or damp hair thoroughly with the anti-residue shampoo. This removes all buildup and opens the hair cuticles. Use warm water and massage the scalp well. Rinse completely until water runs clear. Don’t condition at this stage—you want completely clean hair. Towel-dry until your hair is damp but not soaking wet.
Step 2: Applying the Brazilian Smoothing Treatment
Divide your hair into 4-6 sections using clips. Starting from the bottom sections, apply the treatment about a quarter-inch from the roots, working downward. Saturate each section completely. Use the applicator brush to ensure even distribution. Work methodically—rushing through this step compromises coverage. Once you’ve applied the treatment throughout your hair, comb it through gently to distribute evenly. Let it process for 20-30 minutes (follow kit instructions for your specific product).
After processing, blow-dry your hair straight using a heat protectant spray. Then, using a flat iron set to 450°F (or lower for fine hair), press each section. This step seals the keratin into your hair shaft and is crucial for achieving the smoothing effect. This process takes 45 minutes to an hour depending on hair length and thickness.
Step 3: Intensive Repair Mask Application and Final Rinsing
After flat-ironing, rinse your hair with cool water—no shampoo yet. Apply the intensive repair mask from mid-length to ends, avoiding the roots. Leave it on for 5-10 minutes. Rinse thoroughly with cool water until the water runs clear. Your hair will feel noticeably smoother immediately.
Post-Treatment Care That Extends Your Results to 16 Weeks
What you do after application determines how long your results last. This maintenance phase is non-negotiable.
The Critical First 48-72 Hours
Your hair needs time to fully settle after treatment. During the first 48-72 hours, avoid washing your hair entirely. No shampoo, no water, no swimming. The keratin is still bonding, and water disrupts this process. If your hair gets wet accidentally, blow-dry it immediately on a cool setting. This wait period is the single most important factor in achieving 16-week results.
Recommended Shampoo and Conditioner Types
After the 72-hour window, use sulfate-free shampoo and conditioner. Sulfates strip the protective keratin coating. Look for products labeled “keratin-safe” or “sulfate-free.” Wash in cool water when possible—heat can accelerate fading. Condition every time you shampoo; the treatment increases hydration needs.
Heat Styling Considerations and Thermal Protection
The keratin treatment adds heat protection, but don’t skip your heat protectant spray when blow-drying or flat-ironing. This creates an additional barrier. Use lower heat settings than you might normally use. The treatment makes hair smoother, so you may need less heat anyway to achieve your desired style.
Weekly Maintenance Routines
Once weekly, use a deep conditioning treatment designed for keratin-treated hair. This reinforces hydration and extends results. Avoid chlorinated pools and salt water during the first two weeks—these can prematurely fade results. If you must swim, wet your hair with fresh water first and apply a leave-in conditioner; this reduces absorption of chlorinated or salt water.
Transform Your Hair Care Routine at Home
The Amazonliss Brazilian Keratin Smoothing Treatment Kit represents a genuine shift in how people approach hair damage repair and frizz control. This isn’t just another product promising transformation—it’s a complete system backed by the science of hydrolyzed keratin and the botanical power of Amazon-sourced ingredients.
By understanding each step of the application process, preparing your hair and environment properly, and committing to post-treatment care, you’re setting yourself up for results that rival professional salon treatments. The combination of keratin, acai, cocoa, and protective proteins creates a treatment that works across virtually every hair type, from fine and delicate to thick and curly.
Start with an honest assessment of your hair type and current condition. Gather your tools. Follow the application process exactly as outlined. Respect the 72-hour waiting period before your first wash. Use sulfate-free products afterward. Your investment of time and money will pay dividends in the form of effortlessly beautiful, manageable hair that lasts for months.