
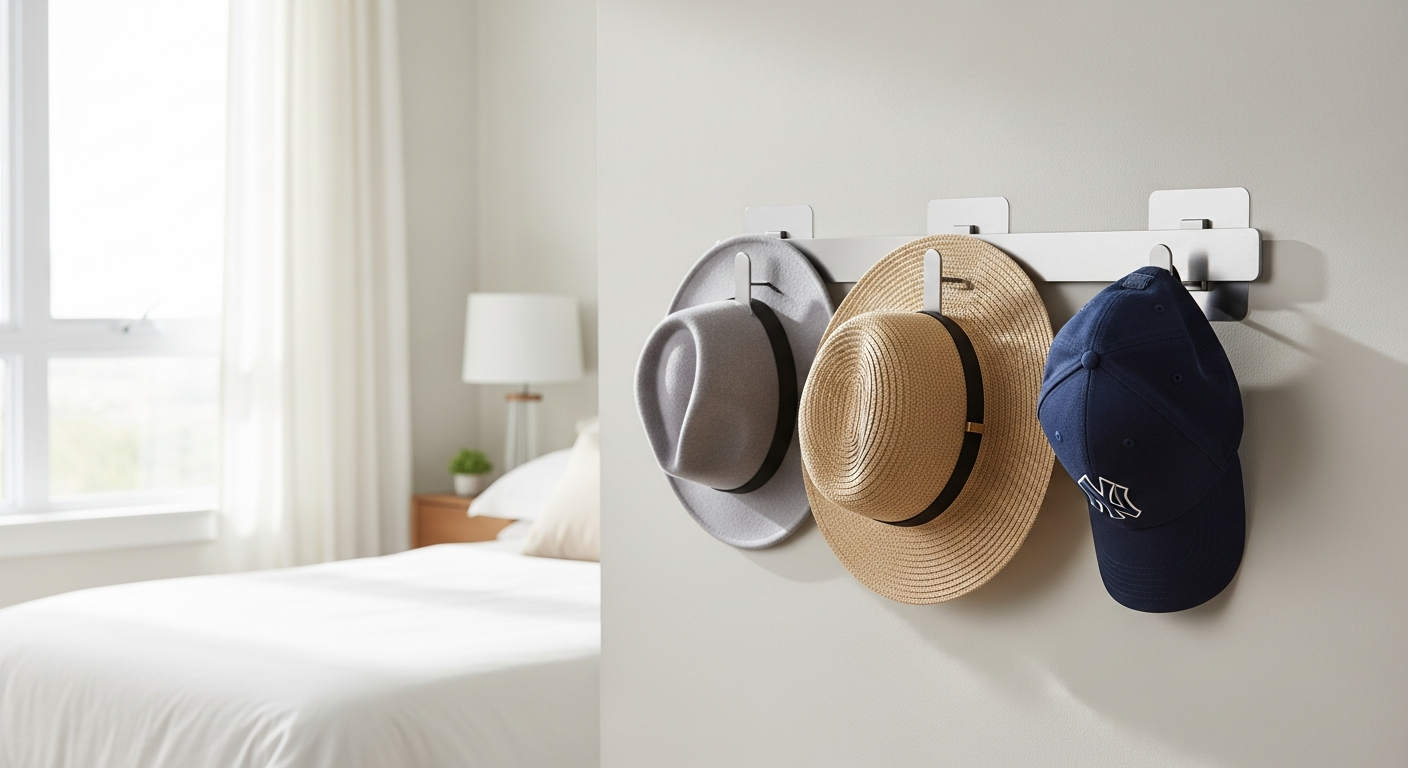
Keep baseball caps organized without reaching for a drill. An adhesive wall hat rack can turn unused vertical space into convenient storage while keeping your favorite hats easy to access.
Baseball caps can be surprisingly difficult to organize. Stack them on a shelf and they can become cluttered or lose their shape. Put them in a drawer and your favorites disappear underneath everything else. Traditional wall racks solve the accessibility problem but may require drilling holes into your walls.
An adhesive wall hat rack organizer offers another approach. By using adhesive mounting rather than screws, it lets you take advantage of vertical wall space without installing permanent hardware. That can make it particularly appealing if you rent your home, move frequently, or simply prefer storage that doesn’t require tools.
Why Adhesive Storage Works Well in Small Spaces
When floor and closet space are limited, walls can provide valuable additional storage.
An adhesive hat organizer lets you move caps away from crowded shelves, dressers, and countertops while keeping them visible. You can install hooks in a bedroom, closet, entryway, or another suitable area where your hats are convenient to grab.
The tool-free setup is another advantage. You don’t need a drill, screws, anchors, or complicated mounting hardware.
However, adhesive products aren’t automatically damage-free. Performance and removal can vary depending on the adhesive, wall finish, paint condition, installation method, and length of time the organizer remains attached.
Check Your Surface Before Installation
The success of an adhesive organizer depends heavily on where you install it.
Smooth, clean surfaces generally give an adhesive pad more contact area than heavily textured walls. Before installation, review the manufacturer’s recommendations to determine which surfaces are compatible.
Clean the mounting area carefully and allow it to dry completely. Dust, grease, and moisture can interfere with adhesion.
Avoid assuming that every painted wall is suitable. Older or poorly bonded paint may lift when adhesive is removed. Wallpaper and delicate finishes may also require additional caution.
If you’re concerned about the surface, testing one organizer in an inconspicuous area first can help you evaluate compatibility.
Give the Adhesive Time to Set
One of the easiest installation mistakes is hanging something immediately after attaching the organizer.
Some adhesives need time to develop their intended bond. Follow the specific curing or waiting period listed by the manufacturer before adding your caps or accessories.
You should also respect the product’s stated weight limit. An organizer designed for baseball caps shouldn’t automatically be treated as a heavy-duty wall hook.
Periodically check the adhesive and mounting surface as well. If the organizer begins separating from the wall, remove the items rather than waiting for it to fall.
Keep Your Caps Visible and Organized
Wall-mounted hat storage isn’t only about saving space. It can also make your collection easier to manage.
Instead of stacking caps on top of one another, you can arrange them individually or in small groups. This makes it easier to see what you own and select the cap you want.
Consider leaving enough room between mounting points so neighboring caps don’t overlap excessively. Larger structured or trucker-style caps may require more spacing than smaller designs.
You can organize your collection by color, style, frequency of use, or simply arrange your favorites where they’re easiest to reach.
Turn Your Collection Into Wall Décor
If you collect caps because of their designs, hiding them in a drawer defeats part of the appeal.
An adhesive organizer can transform your collection into a casual decorative display. Sports caps, vintage-inspired designs, travel souvenirs, and statement pieces can add personality to a bedroom, dressing area, or home office.
Planning the arrangement before attaching the hooks is worthwhile. Use removable painter’s tape to mark potential positions first so you can visualize the layout and spacing.
Use the Organizer for More Than Hats
Depending on its design and weight capacity, an adhesive hat rack can potentially organize other lightweight belongings too.
You might use individual hooks for scarves, empty tote bags, lightweight accessories, cables, or headphones. An organizer near an entryway could also provide a convenient location for keys or other small everyday items.
Always stay within the manufacturer’s recommended load limits rather than assuming the adhesive can support heavier objects.
Choose the Right Number of Hooks
Before purchasing a set, count the hats you regularly use and measure your available mounting space.
A smaller set may be enough if you own only a few caps or want to test how the adhesive performs on your walls. Larger sets can work better for established collections or when you want to create a more substantial display.
There’s no need to cover an entire wall immediately. One advantage of adhesive storage is that you can potentially expand your setup later as your collection grows.
A Flexible Way to Organize Your Hats
An adhesive wall hat rack organizer can be a practical choice when you want accessible storage without installing traditional mounting hardware.
Its biggest strengths are simplicity, flexibility, and efficient use of vertical space. With careful surface preparation, appropriate spacing, and attention to weight limits, you can create an organized display that keeps your caps visible and within easy reach.
Choose a suitable wall, follow the installation instructions carefully, and start with the hats you wear most often. A small amount of unused wall space may be all you need to turn a cluttered collection into a clean, functional display.